Utilities: Sewer
-
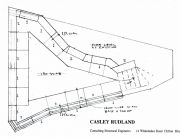 A month before the work started I spotted an inconsistency in the engineer's scale plan drawings not being fully to scale! They show space for a channel down the center of the building which would mean the sewer pipe wouldn't need to be placed under the concrete slab. Unfortunately when drawing a plan view I noticed that most of the panels overlap. Not a problem for the structure but this doesn't leave space for a channel. So the sewer had to go 37cm deeper and under the slab.
 -
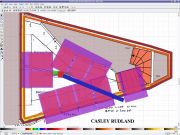 The pink and purple rectangles each represent a panel drawn to scale. This drawing only shows ten of the panels illustrating that there really wont be a channel down the center of the building. The blue rectangle is the new position for the drainage channel.
 -
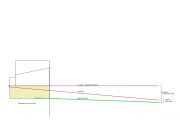 The sewer on Sydenham Road is on the opposite side of the road and at (if I remember correctly) 1.6m below the surface. As Sydenham Road slopes it would be possible to get the correct fall (gradient the pipe is laid) by having a longer run. Bit tricky to see from the online version of this drawing. The blue dashed line is the datum that everything is measured from; the red line is the gradient of the road and the green line is the sewer with the 1:80 fall. None of it is to scale. As the green and red lines are at different gradients they converge. At the point where they are 1.6m apart is where we join the main sewer.
 -
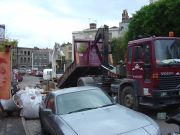
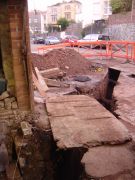
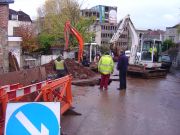
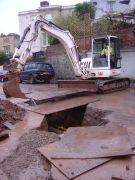
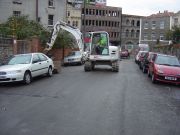 The original plan was to join the sewer about where the black car is in the photo. That would be a 45m sewer run but the 37cm difference in the required invert is actually a really big deal. A sewer laid at a minimum fall of 1:80 would require a further 29.6m of horizontal run but Sydenham Road isn't long enough. Fortuntely there was some contingency in the measuring but this meant a further 10m of excavation at a cost to me of £2,400. The final run will be 56m long. So thats £3.42 per centimeter!
 -
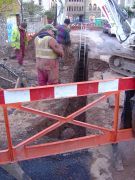
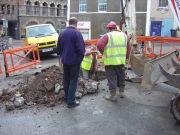 Normally a sewer is laid in the uphill direction but as the exact (to within 20mm) position of the invert is required for the structure they would lay the sewer starting at my building. First they dug down to the point where I'd join the main sewer to ensure it was at the expected depth.
 -
-
-
-
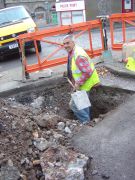
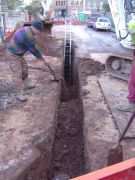
 After the connection point was confirmed the excavation starts at my building.
 -
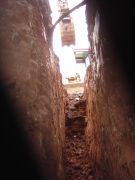
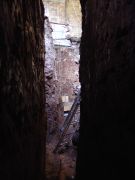
 Looking out from the toblerhome to the first part of the channel.
 -
 The blue line just below the pavement is the first utility the excavation crosses. It is a conduit for the phone line but there isn't a phone line in it.
 -
-
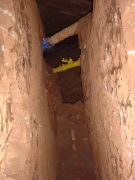
 The view from inside the toblerhome . You can see the 2nd utility the excavation passes - an electricity supply.
 -
-
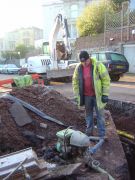 Water pump in action.
 -

-
 The digger saves me lifting a couple of buckets with a rope by making short work of a tonne bag I filled with rock one evening.
 -
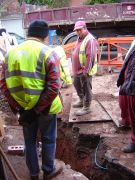
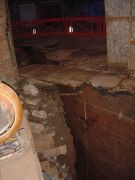
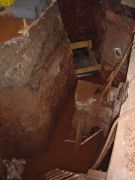
 The view into the basement from inside the excavation under Sydenham Road.
 -
 The next two utilities crossing the excavation - water and gas.
 -

-
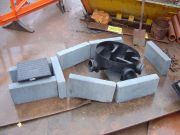 Inspection chamber layout and positioning.
 -
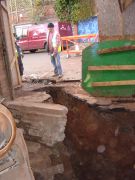
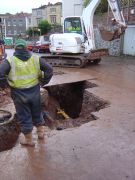
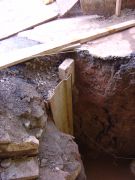
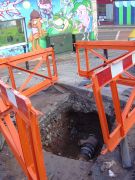
 A subtle point that became a bit of a problem when it next rained was the excavation crossing the drainage gully along the side of the road.
 -
 All of the rain water draining down my side of the road ended up in the basement! It poured over the edge of the excavation like a waterfall.
 -
 This wouldn't normally be a problem but as my excavation is being dug in reverse (downhill) the drain wasn't yet connected to the main sewer and the water has no where to go. So I ended up pumping out around 11,000 litres of water.
 -
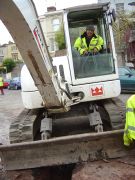
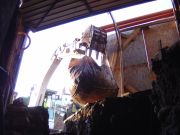
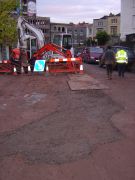
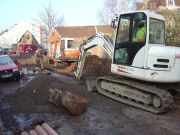
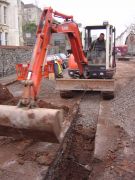
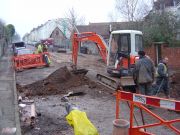
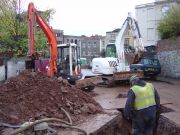 Work had been going a lot slower then planned for the civil engineers. The rock was proving too tough for the digger so another digger was sent in. The 'pecker' on the left of the picture has a hydraulic pick on the end which smashes the rock. Similar to my hand held breaker!
 -
-
-
 Over night covering plates being put into position.
 -
 Temporary road surface after the first sections of pipe had been put in position and back filled.
 -

-
 A braced L shaped metal shoring saves the end of the backfill being filled with concrete.
 -
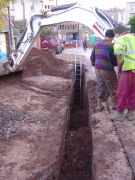
 Straight run down to the bottom of the road.
 -
-
 At this point the civil engineers had to leave my job for 10 days to work on another scheduled project. They will return......
 -
 ... 25 days later they return
 -
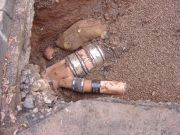
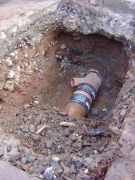 This is the Y-saddle where my private sewer connects to the mains. This part is inspected by the water authority.
 -
-
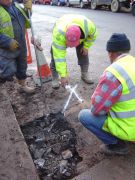
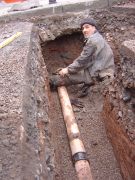 The final section of my connection joins onto the mains. The red dot on John's leg is the leveling laser used to carefully place the pipes at the correct fall. That's how they are accurate to within a couple of centimeters over a 56m run.
 -
 Filling in the temporary road surface.
 -
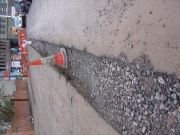
 Pea gravel around the clay sewer pipe.
 -
 The connection was completed on the 21st December 2007.
 -
-

-
-
The plan is to have the bathroom in the basement. It's a pretty expensive undertaking as I originally needed an invert (distance from my ground level datum to the bottom of the inside of the pipe) of 2.9m. The cost was originally around the £17,000 mark for this which initially put it outside of my budget. A normal depth sewer would have cost £8,000 but after going through the options for a couple of days the extra cost seemed worth it. The deeper drainage level would allow for a washing machine in the basement saving valuable kitchen space and not having the bathroom on the ground floor would make this a 2 bedroom house rather then one. The building regulations for escaping from a fire and natural light considerations for a non-habital room make the basement unsuitable for a home office or bedroom.